Disclaimer: Not all features shown are available with the standard LilyPad Vortex package.
Shipping #
- Require Shipping — When ON, users must use a shipping method at checkout before they are allowed to finish their orders.
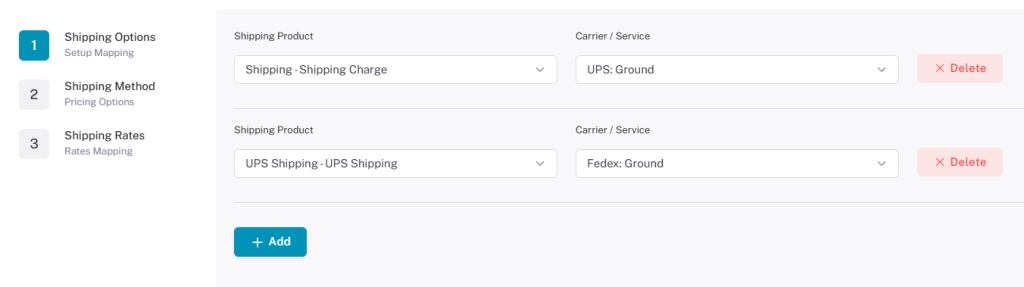
- Step 1 — The user can map shipping products to carriers/services. Multiple lines can be created; the entered carriers and services also appear in Step 3.
Shipping Products are created directly on your database. To make one, change the type of product from “Inventory” to “Shipping”.
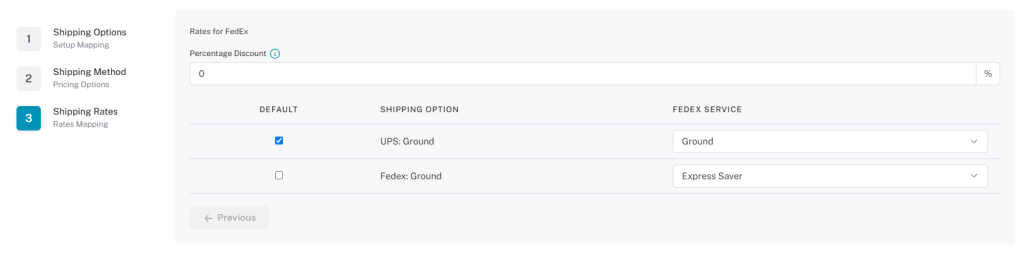
- Step 2 — Shipping Method: Determines how the shipping charge is priced (Price, Weight, Flat Rate, or UPS quote).

- Step 3 — Shipping Rates: Lets the user set prices/methods for shipping. Users can also select the service
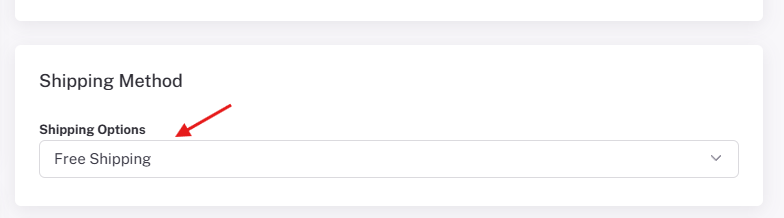
- Require By Order Total Under — Sets an order price that awards free shipping. (E.g., if set to $100.00, any order over $100.00 gets free shipping.)
- “FREE SHIPPING” Text Replacement — Text box to indicate free shipping is being awarded; the message displays under the shipping method on checkout.
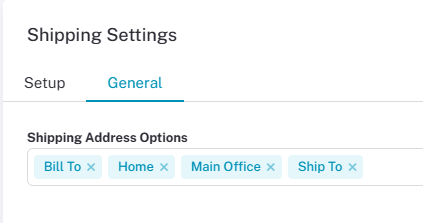
- Shipping Address Options — Choose which address types are available at checkout: Bill To, Ship To, Home, Main Office, and Remit To.
These options are all available address types within your database.
Payments #
- Accept Payments — Allows the user to accept payments in Vortex.
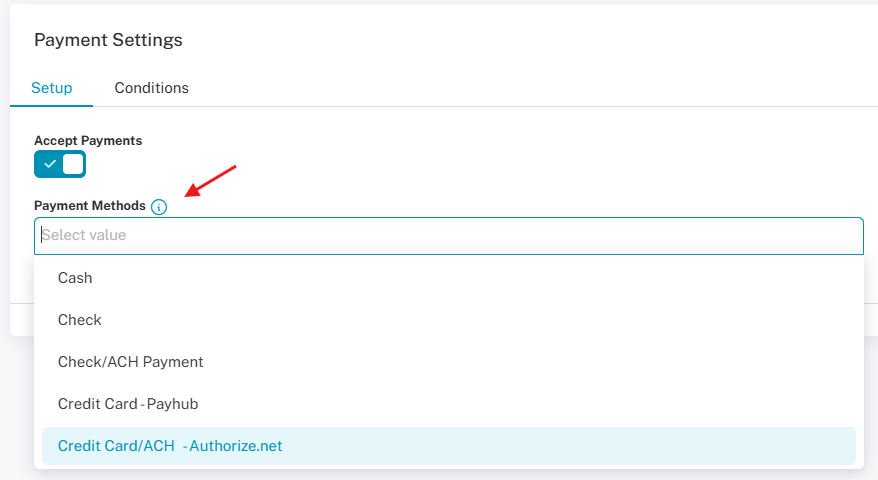
- Payment Method — Select from five payment methods: Cash, Credit card, Check/ACH, or Check.
Credit cards are processed through Payhub Payments or Authorize.net. All payment types can be active at once; users select their type at checkout under Payment Methods.
Payhub Setup #
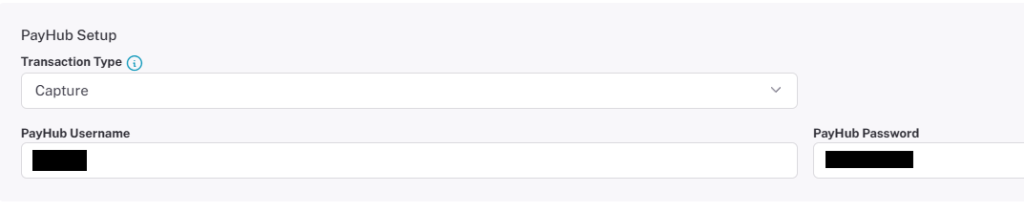
Users can enter in their Payhub Account information into Lilypad by selecting Payhub in the Payment Method setting.
It can help you anticipate the player experience when configuring Payhub or Authorize.net in Lilypad.
- Transaction Type — Two ways to verify credit card information. AUTHORIZE: the user must log into the Payhub terminal to complete the transaction there. CAPTURE: checks credit card information and completes the transaction entirely in Vortex.
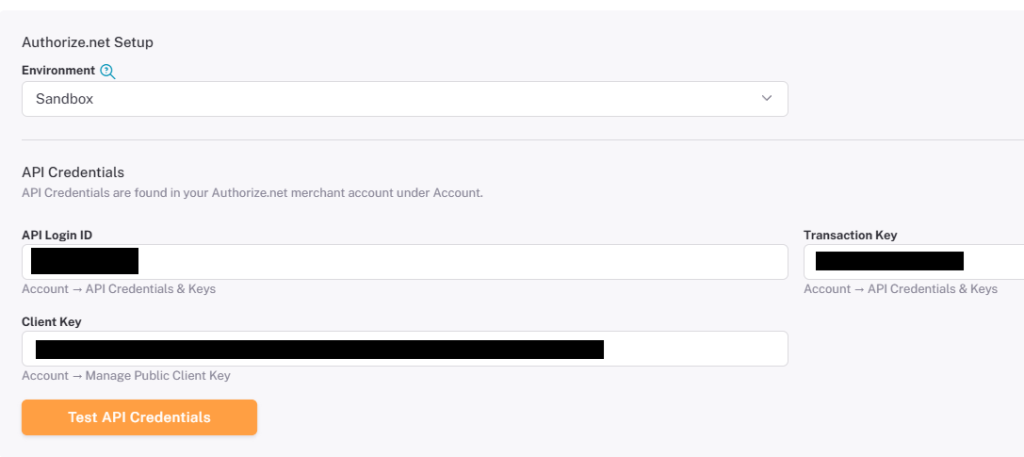
Authorize.net Setup #
To begin setting up your Authorize.net, please select the “Authorize.net” option under the payment methods setting
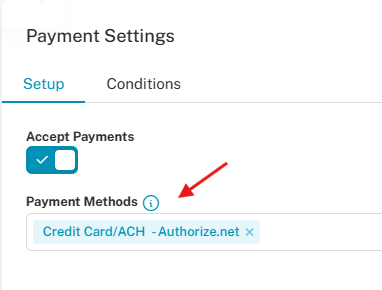
- Once Authorize.net is selected as a payment type, you can enter in your account information to link it to Lilypad.
Test the connection at the bottom of the settings to make sure Lilypad is successfully connected to your Authorize account.
Tax Setup #
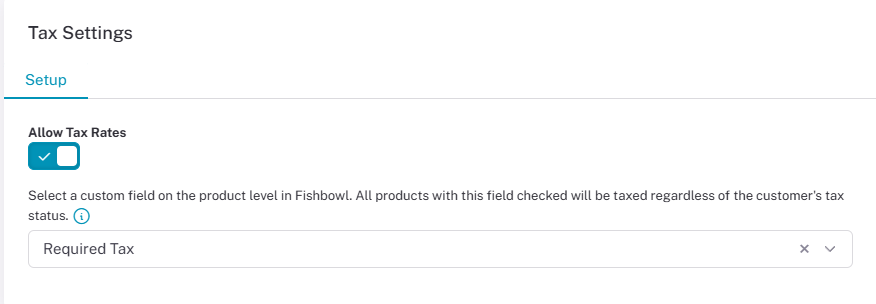
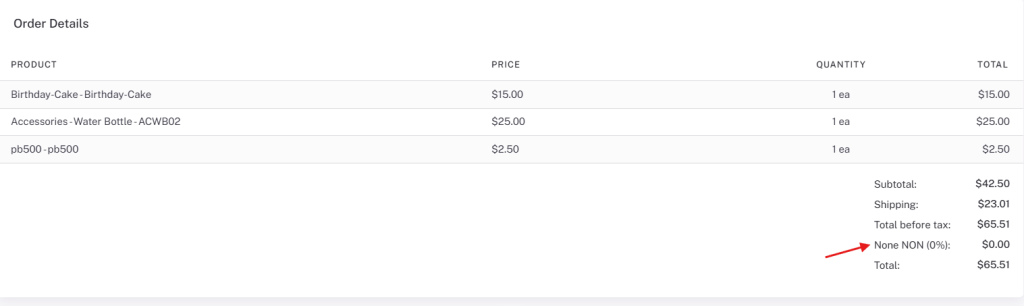
- Allow Tax Rates — Enables the use of sales tax at checkout and in the cart. Sales tax appears at the bottom right of the shopping cart as “Tax Rate. and on the checkout page as “Tax”
The tax rate is applied to the order and will appear on the order as its sent to your database.
- Override Product Tax — Lets you select a custom field currently on products and make all products with that custom field checked be taxed in Vortex, regardless of the customer’s tax status.
Custom fields are found under the “Custom” section after selecting a product.