


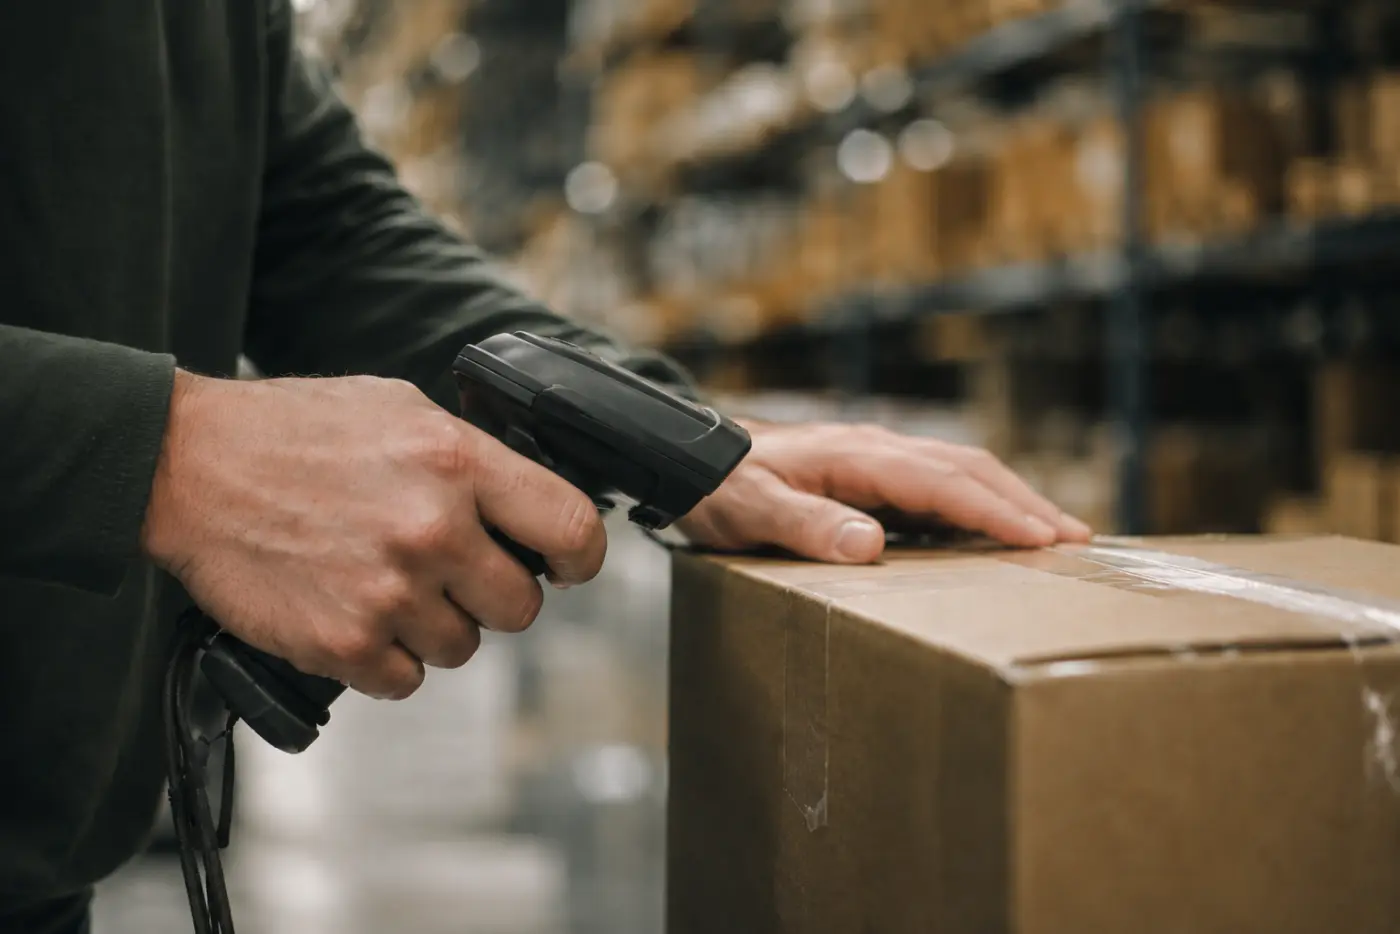







Barcodes
Decoders let LilyPad read the labels you already print, so nothing needs to be relabeled.
When a barcode is scanned, LilyPad reads it with a decoder and fills in the information it holds, such as the part number, lot number or expiration date. Decoders are found in Settings under Scan settings, in the Decoders section.
- GS1-128 is built in and always on. It reads standard GS1 labels with no setup.
- Custom decoders can be added for a customer’s or vendor’s own label format.
Under GS1 label rules, users can also choose how certain GS1 fields on their labels are read. For example, AI (11) can be set to the standard Production Date.
Creating a Decoder
Open Settings, select Scan settings, and under Decoders select Add.
- Enter a name for the decoder.
- Choose the type:
- Delimited: the label’s pieces are split by a separator.
- Range: the pieces sit at fixed character positions.
- For a delimited label, choose the separator: Comma, Pipe, Semicolon, Colon, Space or Tab.
- Under Sample, scan or paste a real label. Each piece of the label is listed under Fields.
- For each piece, choose what it maps to, or leave it as Don’t map this piece. Each piece also has optional Keep after and Keep before fields.
- For a date, enter its date format, such as MM/DD/YYYY. LilyPad shows a warning until the format matches the sample.
- Check the preview, which shows what each scan will fill in.
- Under Options, users can turn on Default decoder, which is used when a scan can’t be matched automatically. Add a note for which customer or label the decoder is for.
- Select Save decoder.
Pieces can be mapped to: Part Number, Product Number, Customer Part Number, GTIN, SSCC, Quantity, UOM, Net Weight, Location, Lot Number, Serial Number, Revision, Variant, Expiration Date, Best Before Date and Production Date.
Example
A label reads CD1001,153248,10/13/2027. With a comma-delimited decoder:
- CD1001 maps to Part Number
- 153248 maps to Lot Number
- 10/13/2027 maps to Expiration Date, with the date format MM/DD/YYYY
Scanning that label now fills in all three fields at once.
Scanning a Mapped Barcode
Once a decoder is saved, scanning a label in that format fills in its mapped fields automatically. For example, when receiving a tracked part:
- Open Receiving and open the receipt. The line shows that a lot number and expiration date are required.
- Scan the label in the scan bar at the bottom of the screen.
- The scan is accepted and matched to the line.
- Adjust the quantity if needed.
- The lot number and expiration date fill in from the label.
- Select Receive.
The line is received, and its lot number and expiration date are saved with it.