









Schedules
Syncs only run on their own once their schedule is enabled. They can always be run manually from the Dashboard.
The Schedules page controls when each sync runs. Each sync is listed with its direction, such as Integration → Connection (into your ERP) or Connection → Integration (out of your ERP), and shows whether it’s Enabled or Paused.
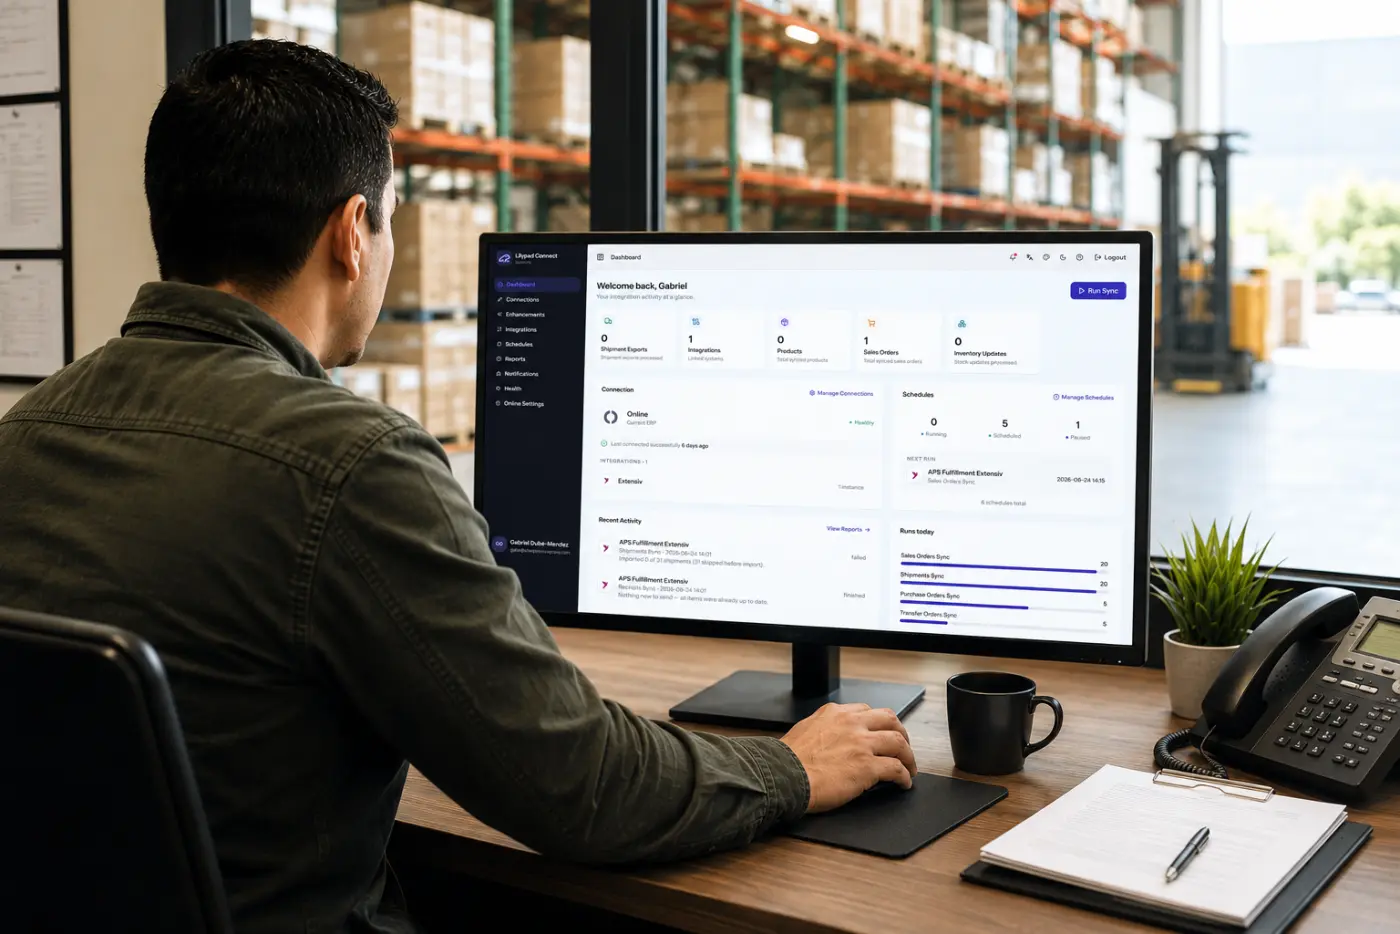
Schedules can be found in the Connect sidebar, or by selecting Manage Schedules on the dashboard.
Setting Up a Schedule
- Under Schedule Settings, choose the default timezone schedules run in, and select Save.
- On a sync, select Edit to open Edit Global Schedule.
- Choose the schedule type:
- Every X minutes: such as every 5, 10, 15 or 30 minutes.
- Hourly at minute: once an hour, at a set minute.
- Daily at a time: once a day, at a set hour and minute.
- Weekly on selected days.
- Monthly on a day.
- Turn on Enabled. The Preview shows when it will run.
- Select Save.
The sync now shows Enabled with its schedule. To stop it, select Edit, turn Enabled off and save. It shows Paused.
- To give one integration a different schedule, expand the sync and select Add override.